iOS Wireless
How to connect to a
Wi-Fi or Wireless Network
- Start the iPad
- Tap on the Settings app. The Settings icon
looks like the following:
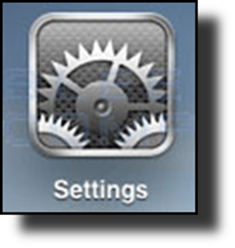
Settings Icon
Once in the settings application, you will be at the General
Settings screen as shown below.
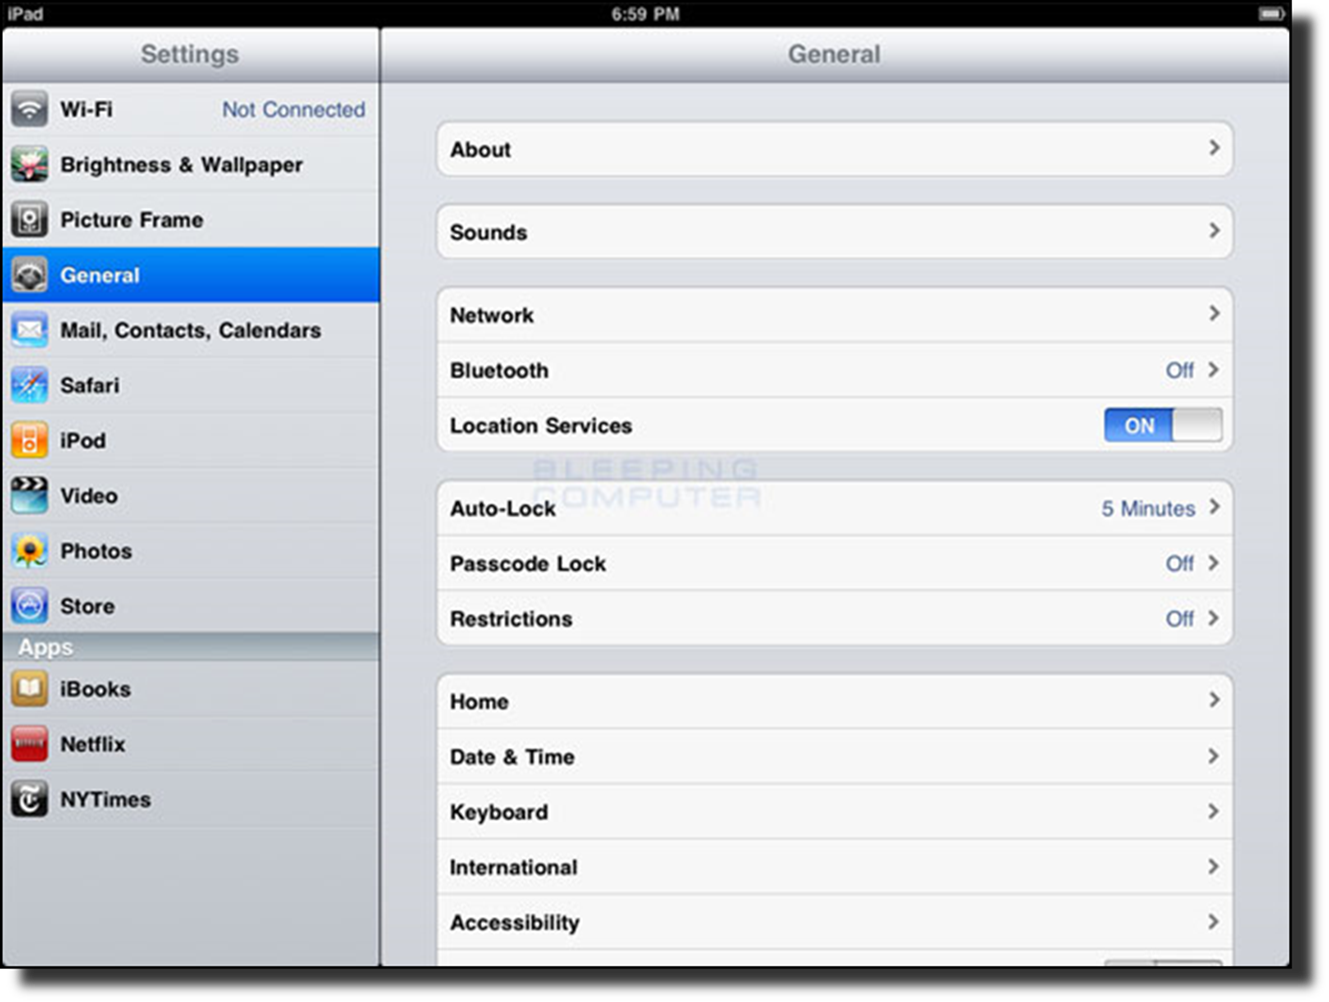
General Settings screen
- Tap on the Wi-Fi category to get to the
screen where you will connect to a wireless network as shown below.

Choose an available wireless network screen
When you reach this
screen, the iPad will start searching for Wi-Fi networks that are in range and
that are broadcasting their names. As it discovers available networks it will
list them under the Choose a Network... label. Please note that it may
take some time for the iPad to see all of the available networks, so please be
patient while it searches. You can tell that it is searching as there will be
an animated symbol next to the Choose a Network... label while it is
searching. If it does not find anything, it will pause for about a minute and
then attempt to search again.
When you see the Wi-Fi network that you would like to connect to, simply tap on
it to attempt to join it. If it has a lock next to the name, then it will
require you to enter a wireless encryption password in order to connect to it
as discussed in the next step.
- Once you Tap on a network name, it will try to connect
to it. If the network is using wireless encryption, though, you will be
presented with a screen asking you to enter the wireless encryption
password as shown below.
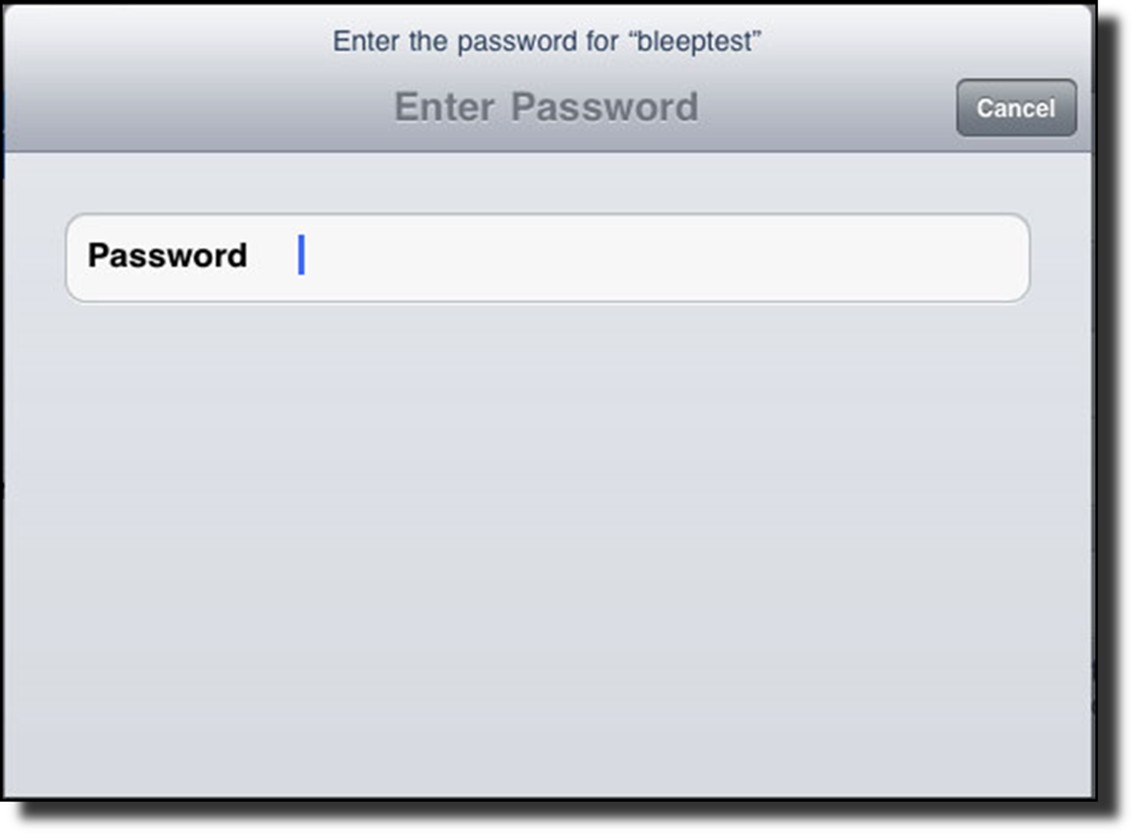
Enter wireless
security password screen
In the password field, enter the wireless encryption password that
is required to join this network.
- The iPad will now attempt to
connect to the network, and when finished, will display the Wi-Fi settings
screen again, but this time with the joined network listed and with a
checkmark next to it as shown below.

Screen showing the
iPad connected to a wireless network
This checkmark designates that your iPad is connected to the
network. You can also see that your iPad is connected to a wireless network as
in the upper left-hand corner you will see the word iPad with the Wi-Fi symbol
( )next to it. You can now go back to your home screen and use any
apps that require Wi-Fi connectivity.
)next to it. You can now go back to your home screen and use any
apps that require Wi-Fi connectivity.
How to connect to a
Wi-Fi or Wireless network that is not broadcasting its name or SSID
To accomplish this
please follow these steps:
- Start the iPad
- Tap on the Settings app. The app icon
looks like the following:
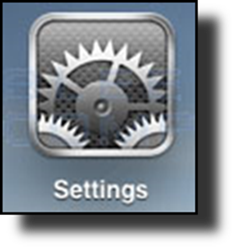
Settings Icon
Once in the settings application, you will be at the General
Settings screen as shown below.
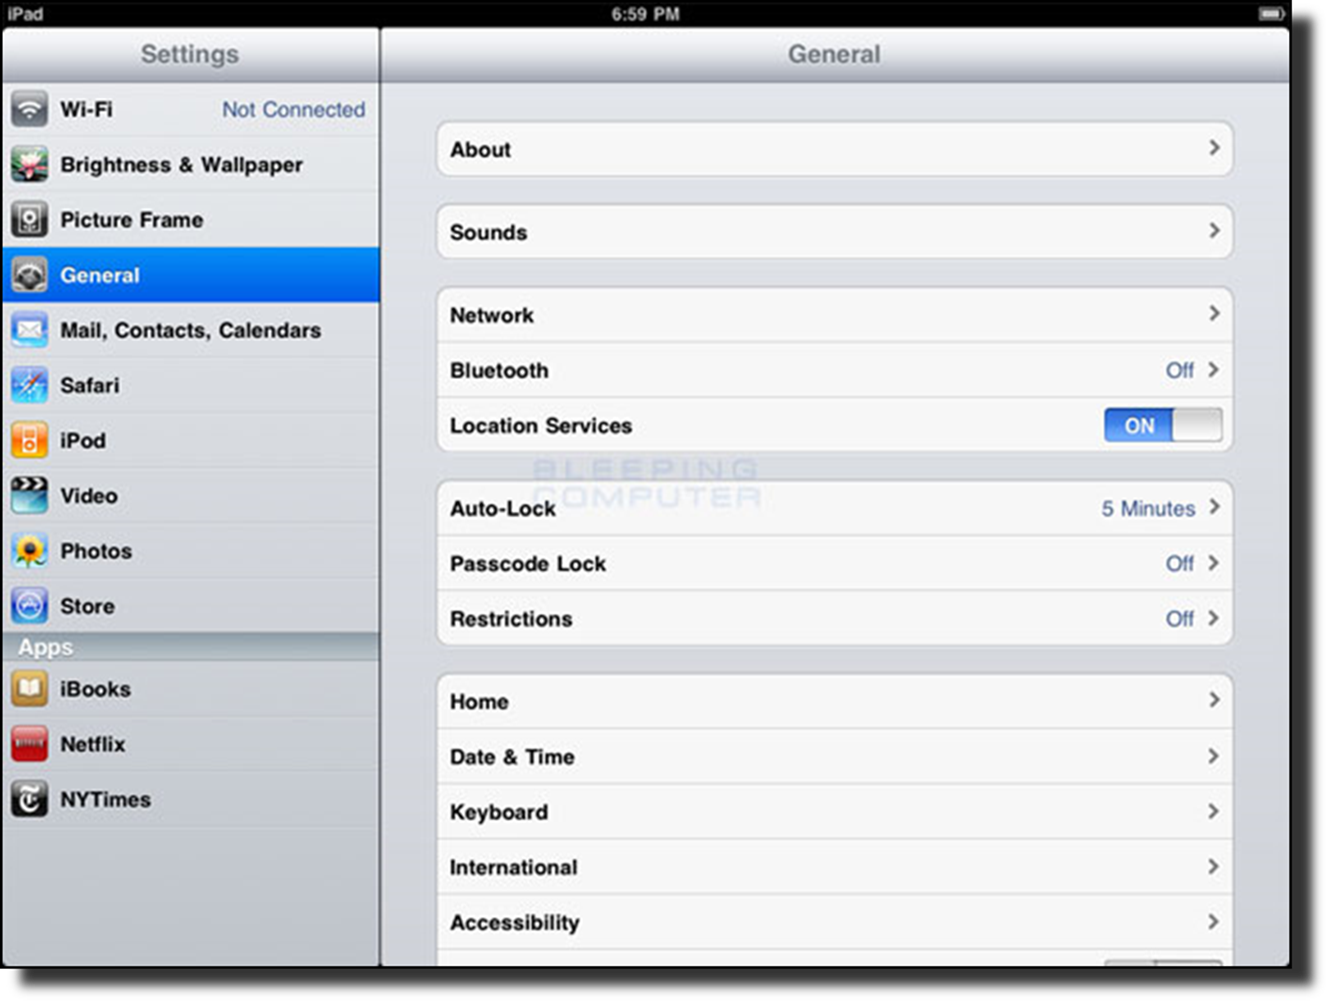
General Settings screen
- Tap on the Wi-Fi category to get to the
screen where you will connect to a wireless network as shown below.
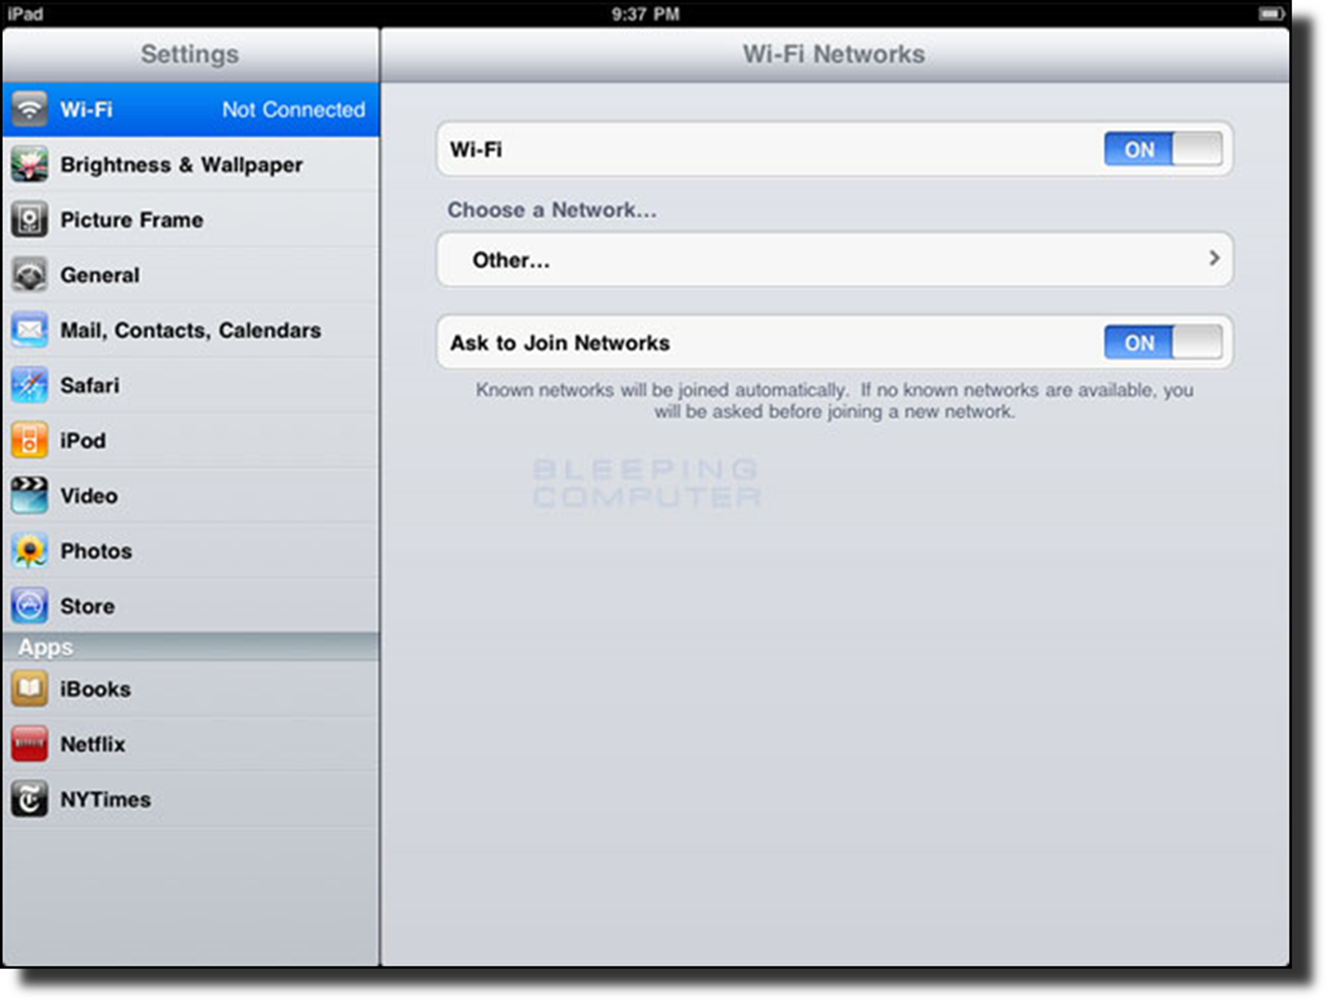
Wi-Fi Settings
screen
- Determine the correct Name, or SSID, that you
will be connecting to and Tap on the Other... button. You will now
be at the Other Network screen where the iPad will ask you to enter the
settings required to connect to the network.
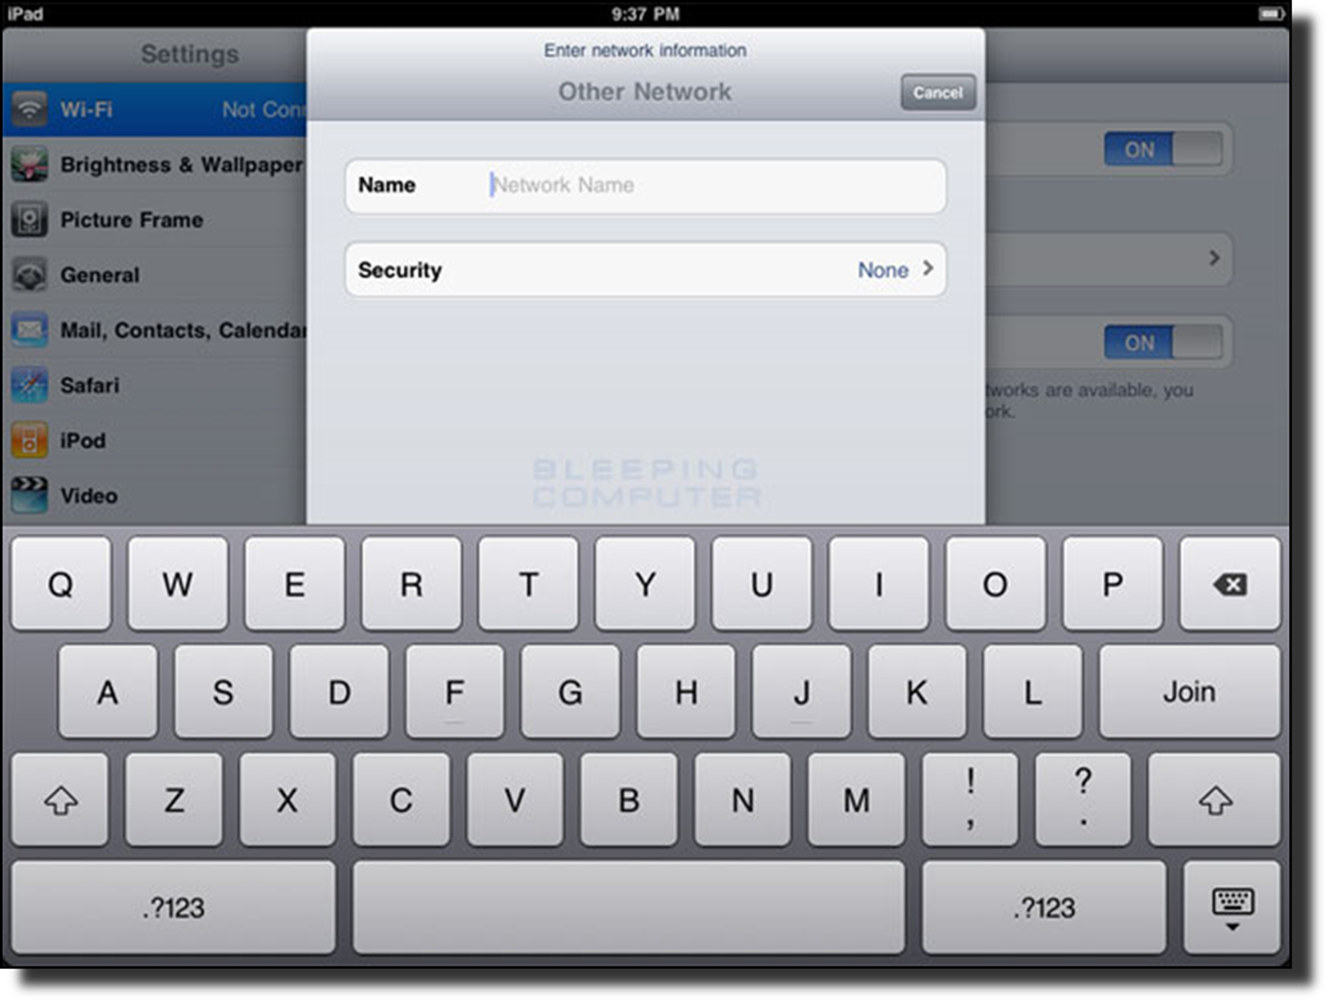
Enter SSID screen
In the Name field, enter the network name or SSID.
- Then tap on the Security button and you
will be at the screen show below.

Select Security
Encryption Type screen
At this screen you need to select the wireless encryption that the
network that network you wish to connect to is using. It is important that you
select the correct encryption type, as if you do not, you will not be able to
connect to the wireless network. After selecting the encryption type, tap on
the Other Network button.
- You will now be back at the Other Network screen
where the iPad is now prompting you to enter the password as shown below.

Enter Security
Encryption Password screen
In the password
field, please enter the password that is required to connect to the Wi-Fi
network.
- Once you have entered in all the required
information, tap the Join button on the iPad keyboard. The iPad
will attempt to connect to the network, and when finished, will display
the Wi-Fi settings screen again, but this time with the joined network
listed and with a checkmark next to it as shown below.

Screen showing the iPad connected to a wireless network
This checkmark
designates that your iPad is connected to the network. You can also see that
your iPad is connected to a wireless network. In the upper left-hand corner you
will see the word iPad with the Wi-Fi symbol () next to it.
Deleting a Wi-Fi
connection profile so the iPad won’t automatically join it
- Start the iPad
- Tap on the Settings app. When the Settings
app loads, you will be at the General Settings category.
- Tap on the Wi-Fi settings category and you
will be at a screen as shown below.
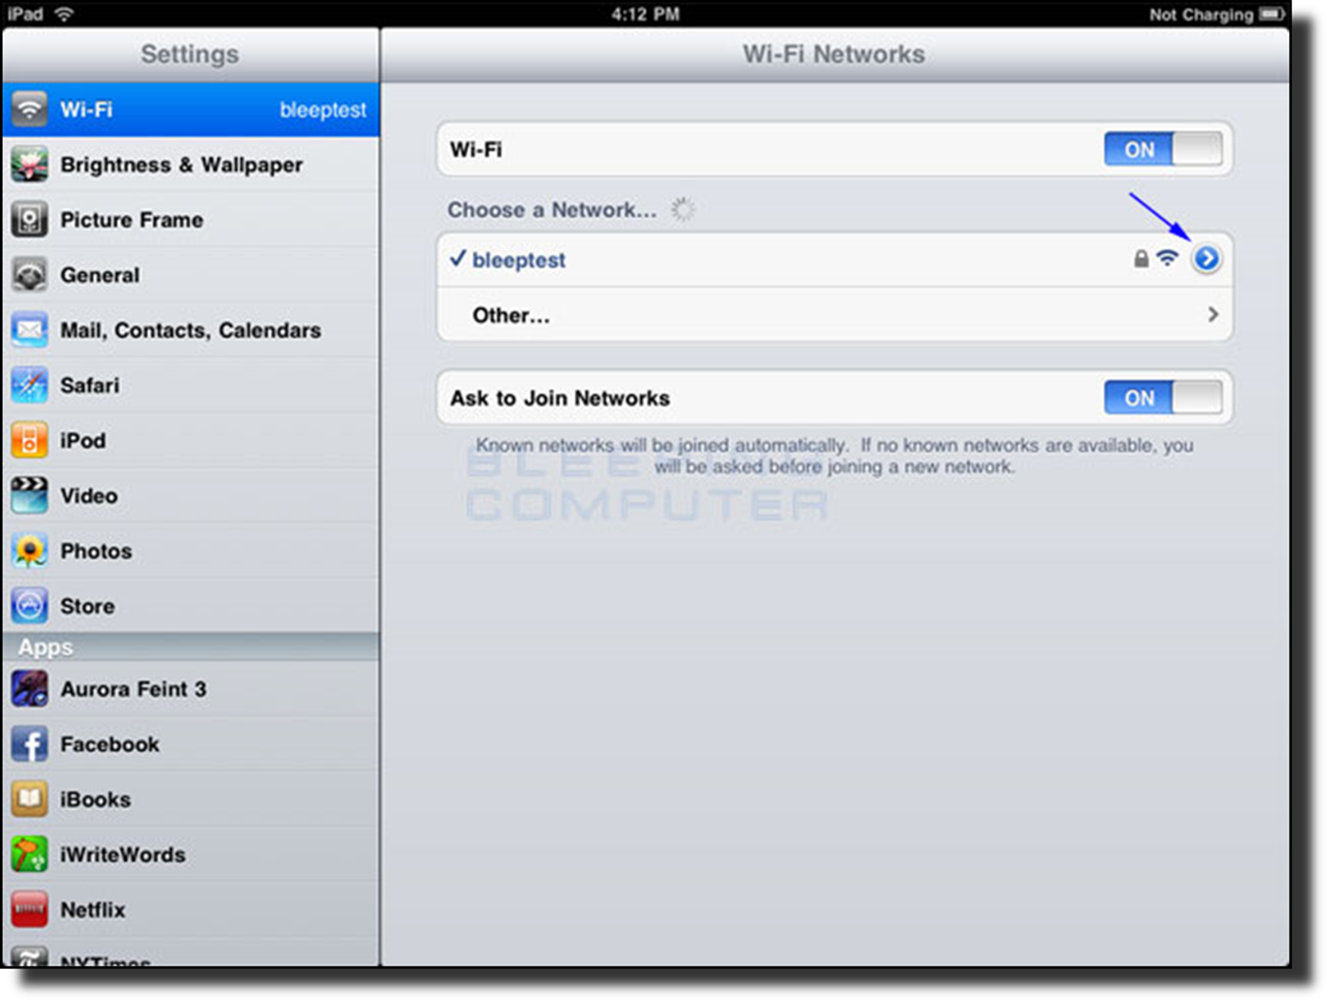
Screen showing the iPad connected to a wireless network
You should now tap on the  next to the Wi-Fi
profile that you wish to delete.
next to the Wi-Fi
profile that you wish to delete.
- You will now be at the Wi-Fi network settings
screen for the connected network.
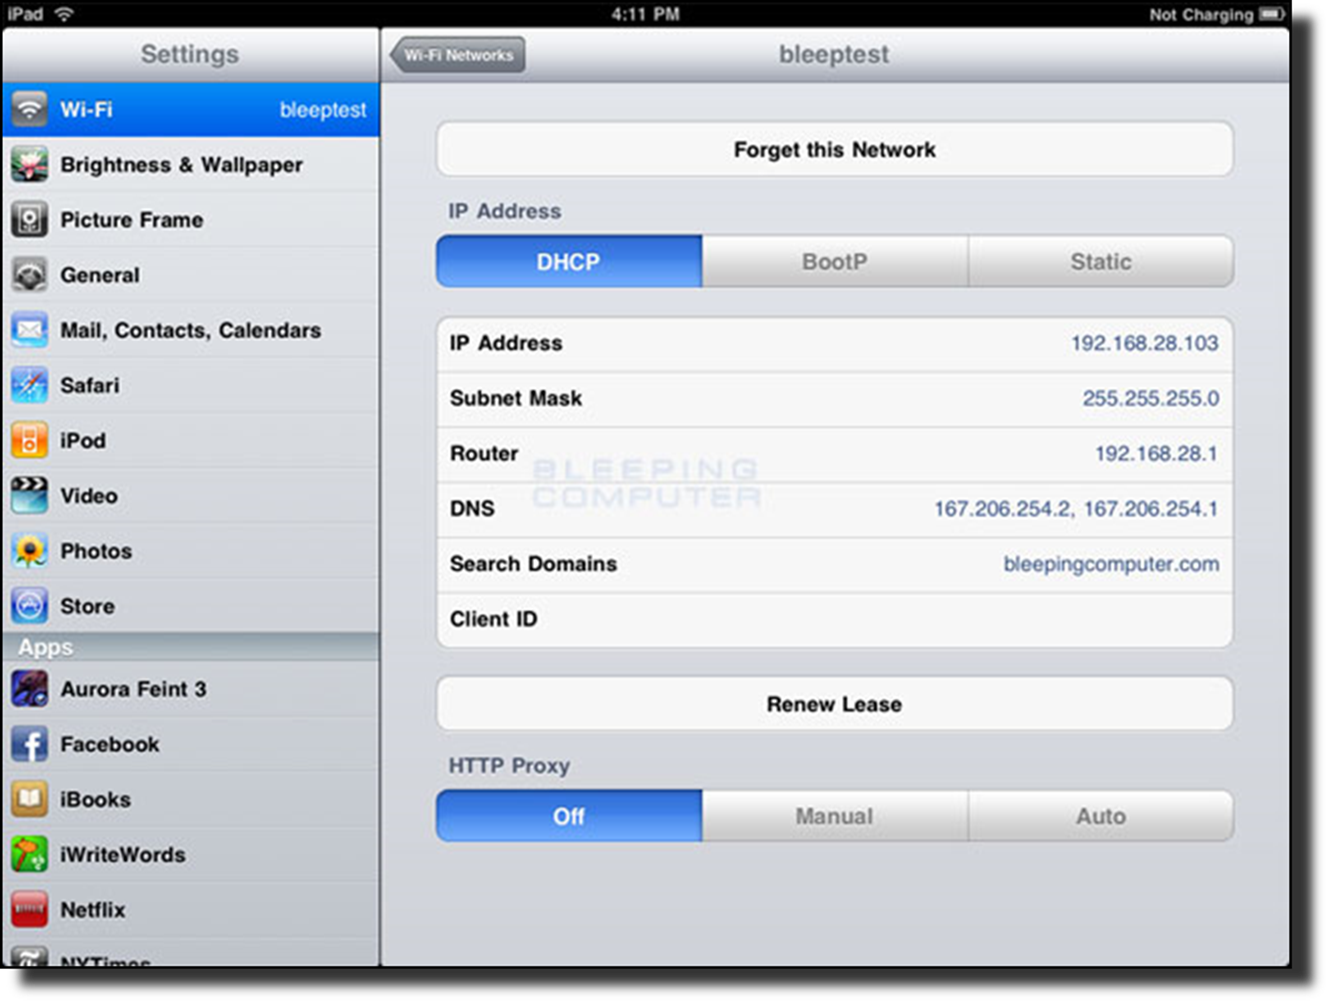
Wireless settings for a Wi-Fi network
- Tap on the Forget this Network button.
- When the iPad asks you to confirm that you wish
to forget the network, tap on the Forget button. http://conex/sites/callcenters/tcc/training/Shared%20Documents/HSD%202.0/Internet%20101a.mht
Updated
Jul-20 by: Training@cableone.biz
To
submit feedback about this resource please submit a Training Ticket
